New Root AWS Account Creation Guide
This document outlines the step-by-step process for creating a standalone AWS account directly from the AWS website. A “standalone” account is created independently and not within an existing AWS Organization, AWS Control Tower, or through CLI, API, or SDK methods.Step 1: Navigate to the AWS New Account Portal
- Visit AWS Free Tier.
- Click Create a Free Account.
- Direct Link: AWS Signup Portal.
- Reference Guide: AWS Account Creation Instructions.
Step 2: Populate Account Information
-
Enter a valid Root User Email Address.
- Use a secure, accessible email for account recovery.
-
Enter a meaningful AWS Account Name:
- For management accounts, consider naming conventions like:
-
Management -
Management (Purpose)orManagement (Service Name) -
Customer Name (Management)(e.g.,Parts Unlimited (Management)).
-
- For management accounts, consider naming conventions like:
Verify the Email Address
- AWS will send a confirmation code. Enter the code to validate the email.
Step 3: Create a Password
- After email verification, set a strong password.
- Configure MFA (hardware or virtual) upon first login for enhanced security.
Step 4: Populate Contact Information
-
Choose Account Type:
- Business
- Personal
- Provide primary contact details (does not need to match billing information).
Step 5: Add Payment Information
- Enter Credit Card Information.
- Provide a valid Billing Address.
Step 6: Verify Phone Number
- Enter a phone number that can receive a call or SMS.
- Complete the CAPTCHA.
Verify Phone Number
- Enter the code received via voice call or SMS.
Step 7: Select a Support Plan
- Choose a support plan based on your needs:
- Basic (Free): Email-only support for account and billing issues.
- Paid plans can be upgraded at any time for enhanced support.
Step 8: Enable IAM Principal Access to Billing Console
- Log in to the AWS Management Console as the Root User.
-
Navigate to the Billing and Cost Management Dashboard:
- In the console navigation bar, click on your account name or choose Billing Dashboard from the services menu.
-
On the main
AccountSettings page, scroll down until you find IAM user and role access to Billing Information. SelectEdit.
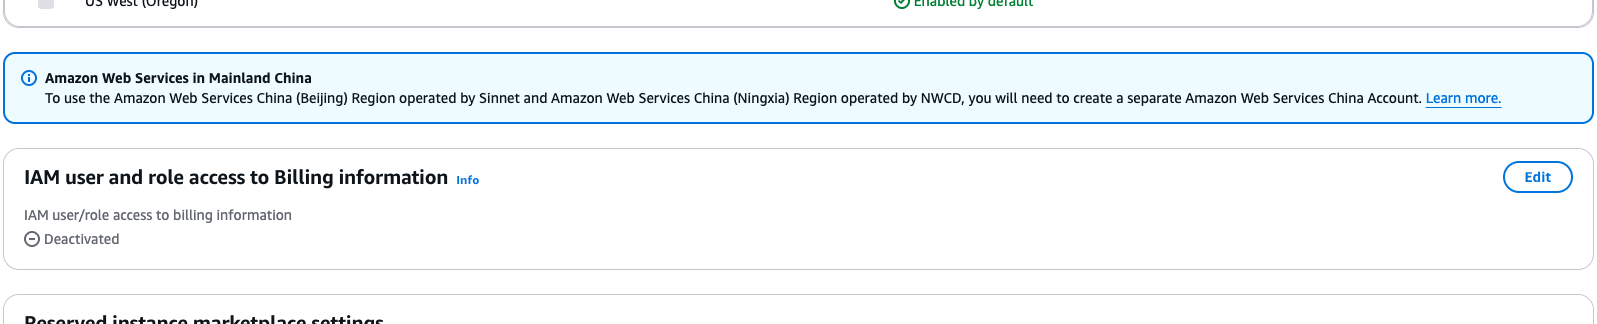
-
Check the box labeled Activate IAM Access:
- This allows IAM principals (users and roles) with the appropriate permissions to access the billing console.
- Update/Save your changes.
Step 9: Success!
Your new AWS account is ready. Follow these additional steps to enhance account security and functionality:- Configure MFA for the root account.
- Create and assign IAM roles and policies for secure and controlled access.
- Review and monitor billing and cost usage regularly.
By completing these steps, your account is prepared for secure, scalable, and efficient operation.